Deploy and Configure AWG for WebRTC
Deploying and configuring the Avaya Aura® Web Gateway (AAWG) for WebRTC connectivity involves a multi-step process that requires coordination with other Avaya Aura components like System Manager, Session Manager, and Media Server.
¶ Prerequisites
Before deployment, ensure the following core components are in place and properly configured:
- Avaya Aura® Platform: System Manager, Session Manager, and Communication Manager.
- Media Services: Dedicated Avaya Aura® Media Server (AAMS) for the Web Gateway.
- Edge/Security: Avaya Session Border Controller for Enterprise (ASBCE), especially for external client access and NAT traversal.
- Networking: Proper DNS FQDN resolution, NTP synchronization, and firewall ports opened (e.g., 443 for HTTPS, specific RTP port ranges).
- Software: The AAWG OVA file obtained from Avaya's PLDS (Product Licensing and Software Downloads).
¶ Deployment
¶ Deploy ova
Deploy AAWG ova from vcenter, esx, or sdm
    EASG User Access = 1
    Data Encryption = 2
    Require Encryption Passphrase at Boot-Time = False
    Enter the IP Address to assign to the VM: = 172.30.2.36
    Enter the FQDN to assign to the VM: = smbciawg
    Enter the Netmask to assign to the VM: = 255.255.255.0
    Enter the IP Address of your default gateway: = 172.30.2.1
    Enter the default Search List [ Multiple DOMAIN separated by comma ]: = wahana.com
    Enter the IP Address of your DNS server(s) [Multiple IPs separated by comma ]: = 172.30.1.4
    Provide NTP Server IP or FQDN [Multiple IP or FQDN separated by comma ]: = 172.30.1.101
    Select the Time Zone : = Asia/Jakarta
    Admin user: = admin
    Admin Group Name: = admingrp
contoh di atas adalah summary deployment dari wizard yang ada di vcenter
proses deploy yang lebih detail dapat di lihat di dokumen ini : deploy-awg
¶ Change admin cli password
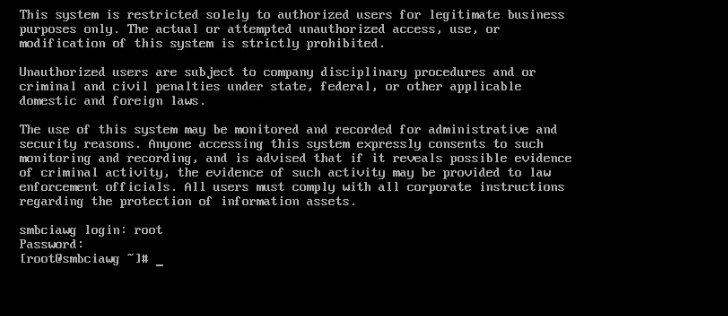
Power On AWG Server and access the console/ssh. On first time login, you must change admin password
login as: admin
Pre-authentication banner message from server:
| This system is restricted solely to authorized users for legitimate business
| purposes only. The actual or attempted unauthorized access, use, or
| modification of this system is strictly prohibited.
|
| Unauthorized users are subject to company disciplinary procedures and or
| criminal and civil penalties under state, federal, or other applicable
| domestic and foreign laws.
|
| The use of this system may be monitored and recorded for administrative and
| security reasons. Anyone accessing this system expressly consents to such
| monitoring and recording, and is advised that if it reveals possible evidence
>
| of criminal activity, the evidence of such activity may be provided to law
| enforcement officials. All users must comply with all corporate instructions
| regarding the protection of information assets.
|
End of banner message from server
Keyboard-interactive authentication prompts from server:
| Password:
| You are required to change your password immediately (administrator enforced)
| Current password:
| New password:
| Retype new password:
End of keyboard-interactive prompts from server
¶ Change grub password
Also we need to change boot and single-user password
For additional security, booting into single-user mode must be protected with a
password. You are required to set this password before proceeding. The password
can be changed at any time by running 'sudo /opt/Avaya/bin/manageOSPassword.sh -p'.

Enter password:
Confirm password:
Generating grub configuration file ...
Adding boot menu entry for EFI firmware configuration
done
[admin@smbciawg ~]$
¶ Change root password
Access to console of awg server
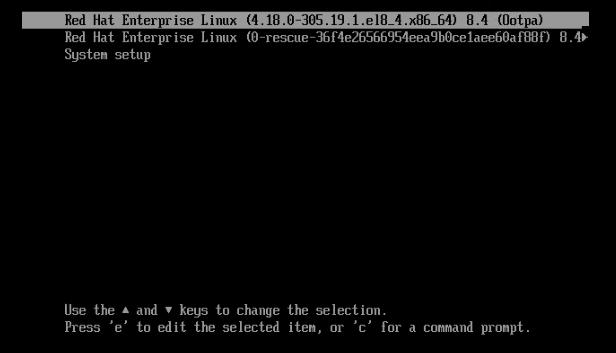
press 'e' to edit the boot option
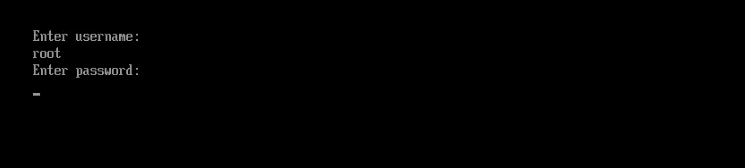
enter grub password
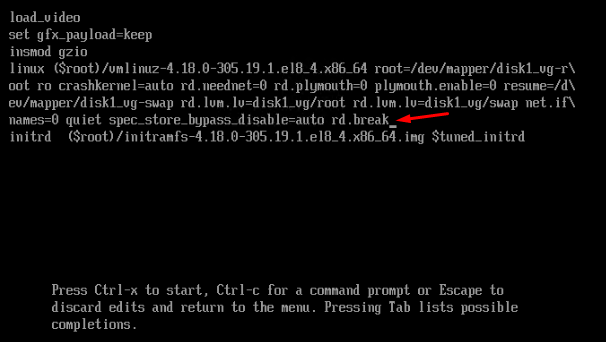
add 'rd.break' on the end of line, press ctrl+x to boot
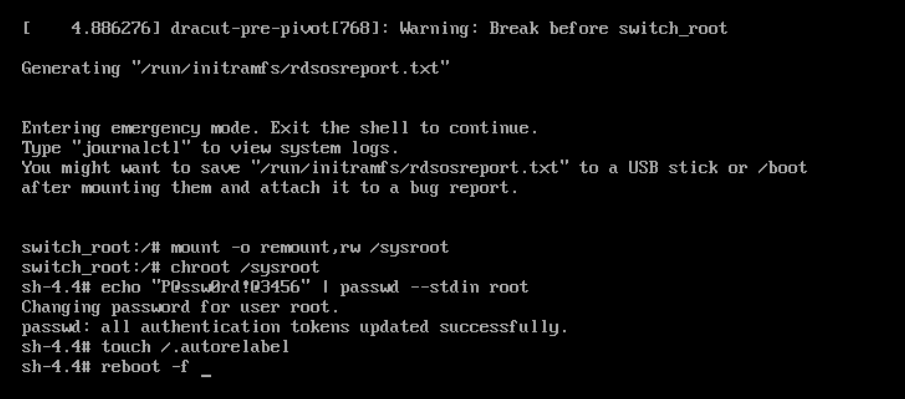
mount -o remount,rw /sysroot
switch_root:/# chroot /sysroot
sh 4.4# echo "P@ssw0rd!@3456" | passwd --stdin root
sh 4.4# touch /.autorelabel
sh 4.4# reboot -f
jalankan perintah di atas untuk mengganti root password
akses root di butuhkan nantinya untuk mengaktifkan service token authenticator
setelah restart, verify root password yang baru dapat di gunakan
¶ Configure AAWG
¶ Install AAWG Application
[admin@smbciawg ~]$ app install

The following command will be used to execute the install:

   /opt/Avaya/csa-10.1.0.0.90.bin

Proceed (y/n)? y

Verifying archive integrity..
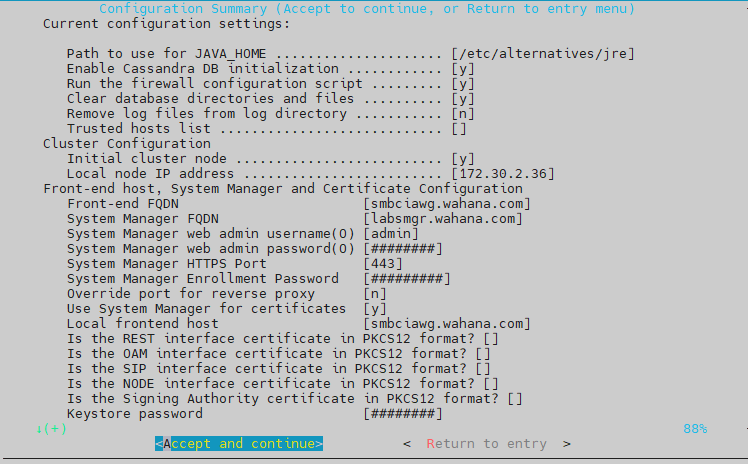
jalankan perintah app install
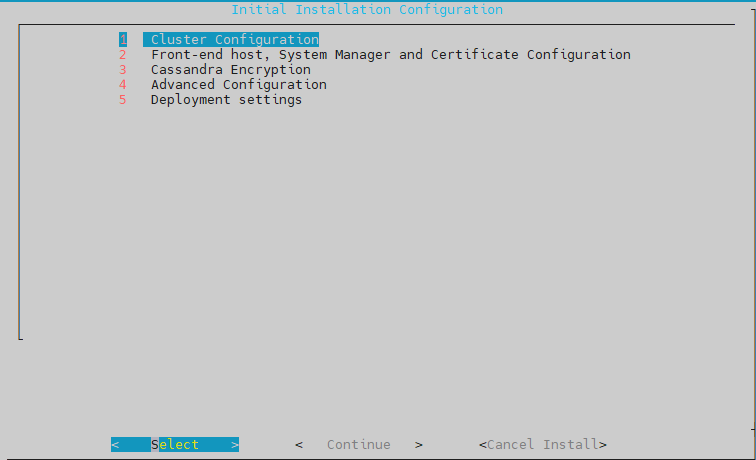
- skip bagian cluster
- select bagian Front-End host
isikan bagian FrontEnd FQDN, SMGR FQDN, user dan password web, enrollment password

- skip cassandra encryption
- skip Advanced configuration
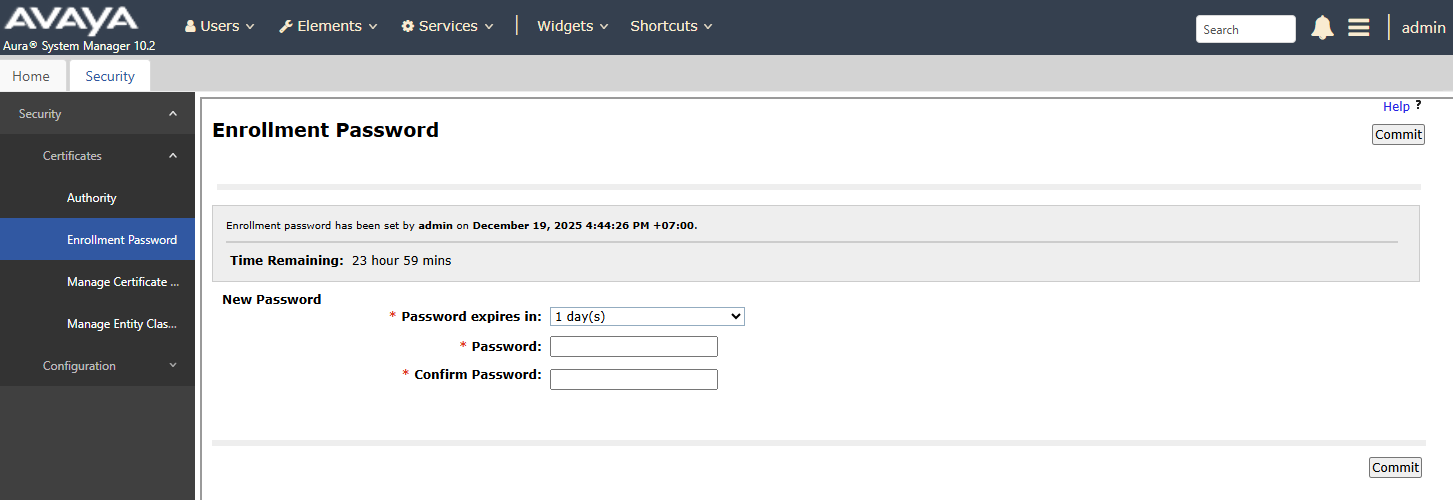
- pastikan juga enrollment password sudah di set di SMGR
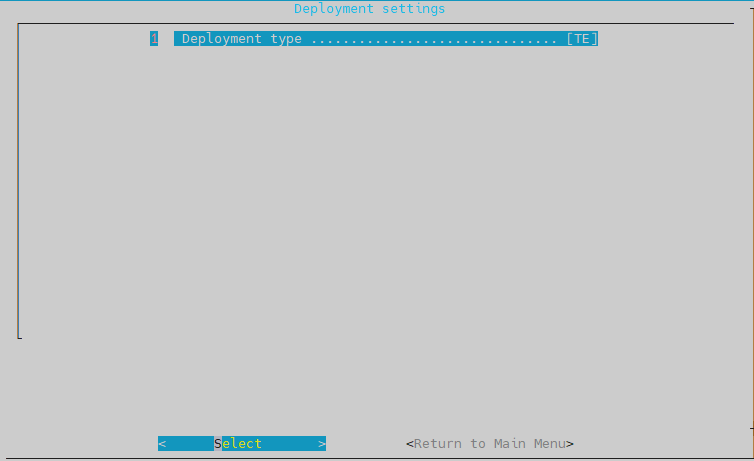
- Depolymet Type = TE

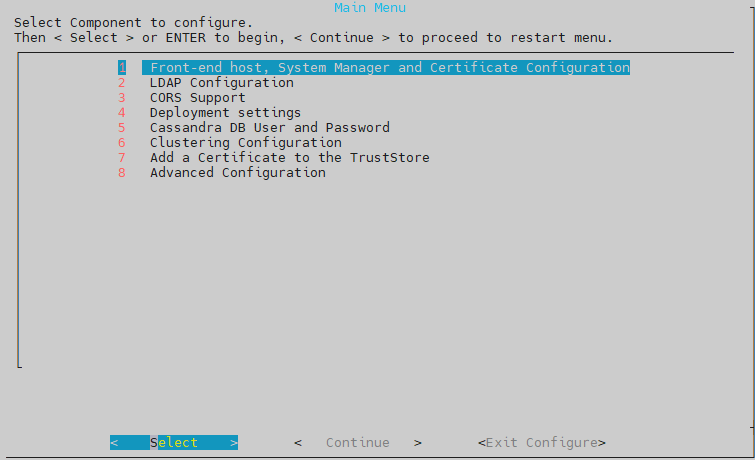
kembali ke main menu, select Continue, lalu enter
pilih Select and Continue, lalu enter

Accept License Agreement
Select Continue, lalu enter
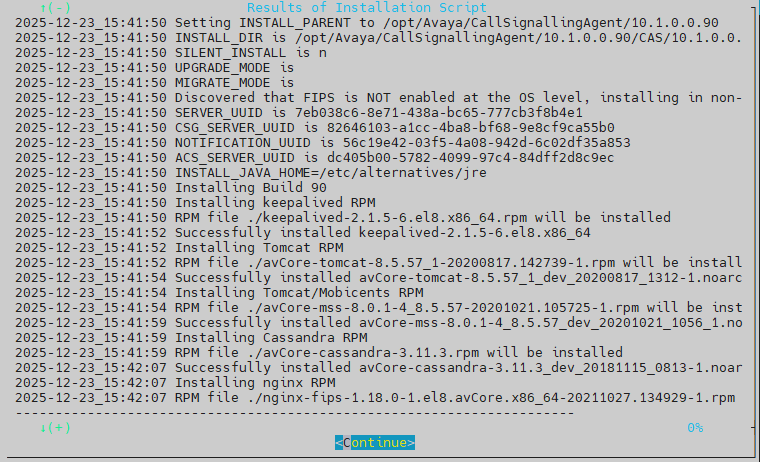
tunggu sampai process install selesai
waktu install biasanya sekitar 15 menit
pada bagian ini skip aja, langsung pilih Continue, lalu enter
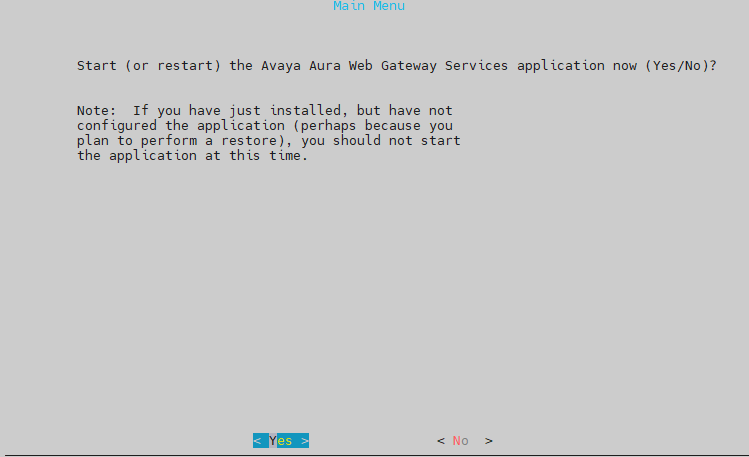
Pilih Yes, lalu enter
Pilih Yes, lalu enter
¶ Verify service running
[admin@smbciawg ~]$ app status
2025-12-19_17:14:43 Displaying status for Avaya Aura Web Gateway Services Application
2025-12-19_17:14:43 ulimit file count ..................  [  OK  ]
2025-12-19_17:14:43 ulimit process count ...............  [  OK  ]
2025-12-19_17:14:43 nftables status ....................  [  OK  ]
2025-12-19_17:14:44 net-SNMP status ....................  [  OK  ]
2025-12-19_17:14:44 CSAKeepalived status ..............  [  OK  ]
2025-12-19_17:14:44 CSATomcat status ..................  [  OK  ]
2025-12-19_17:14:45 CSANginx status ...................  [  OK  ]
2025-12-19_17:14:45 CSACassandra status ...............  [  OK  ]
2025-12-19_17:14:45 CSATelportal status ...............  [  OK  ]
[admin@smbciawg ~]$
jalankan perintah app status untuk menampilkan status service AWG application
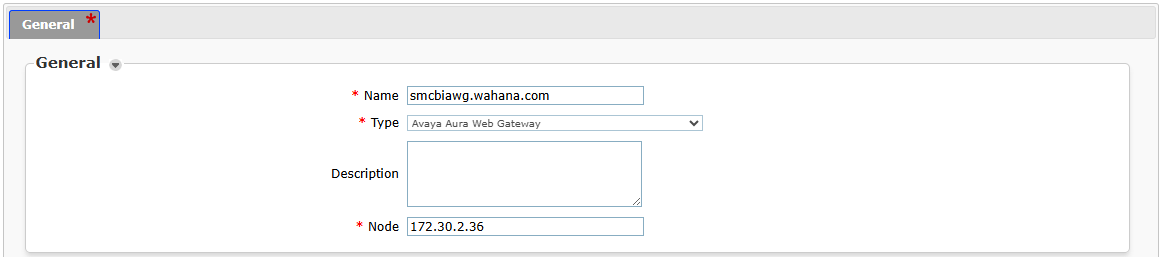
¶ Add AAWG Element on SMGR
Dari SMGR, Inventory > Manage Element > New
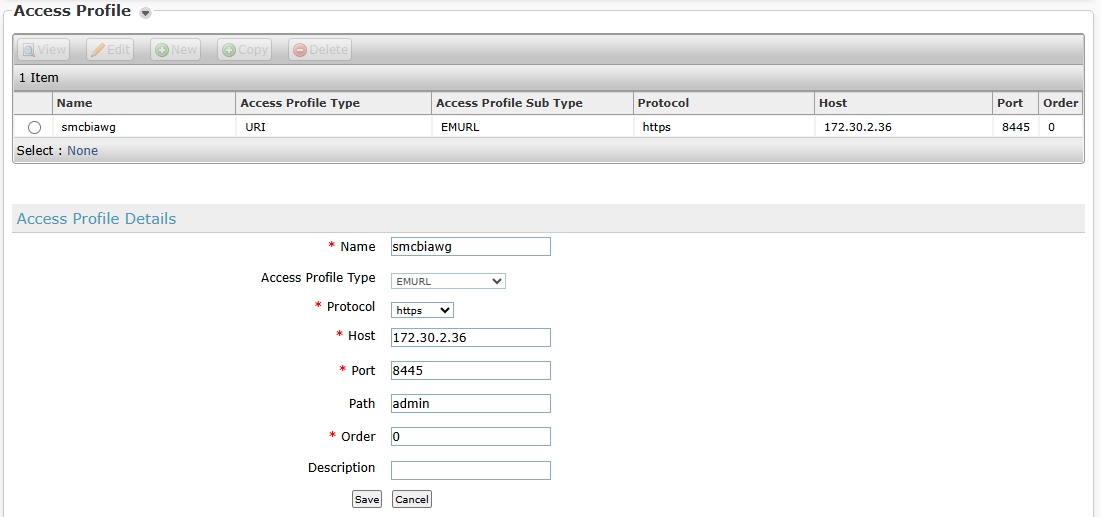
Pada bagian Access Profile > New
¶ Login to AWG Webconsole
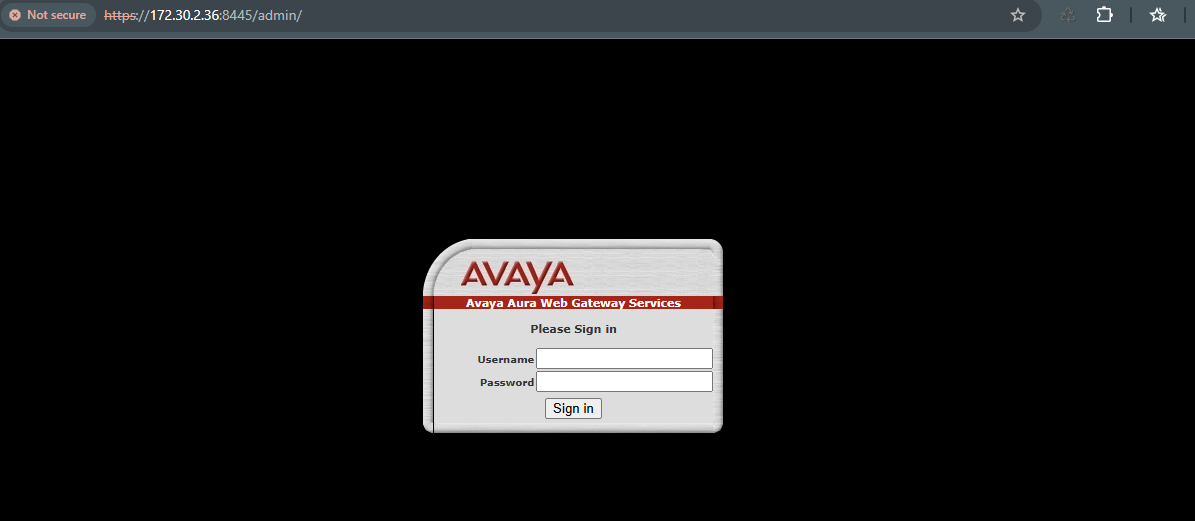
access melalui web browser, https://172.30.2.36:8445/admin/
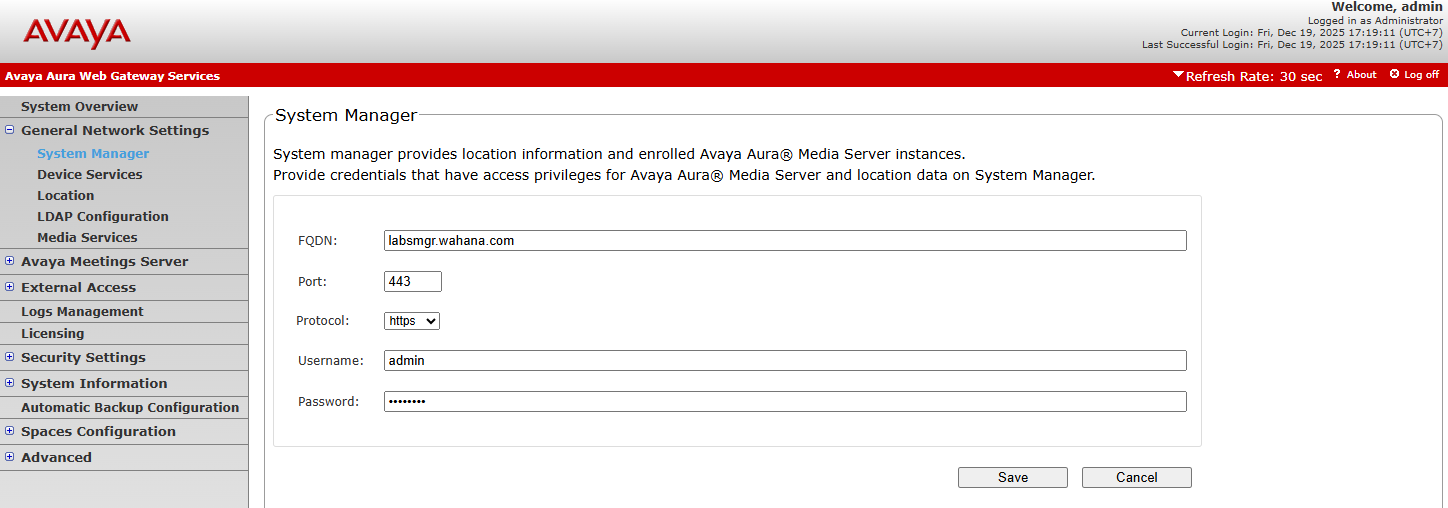
¶ Configure SMGR connection from AWG
¶ Verify TrustStore
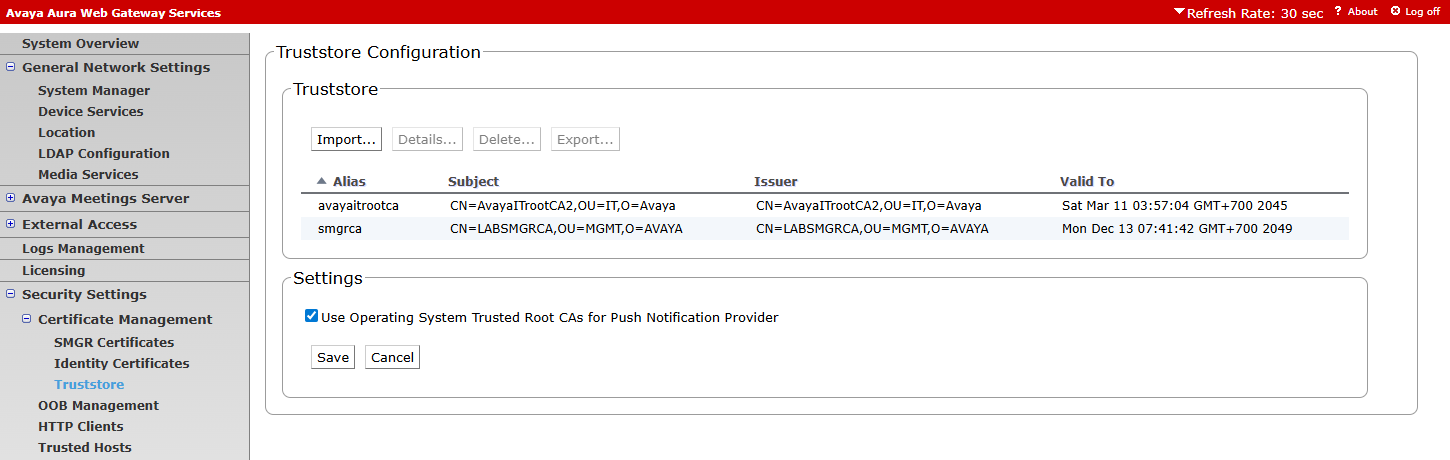
pastikan certificate SMGRCA sudah adaa di truststore
¶ Set Trusted Hosts
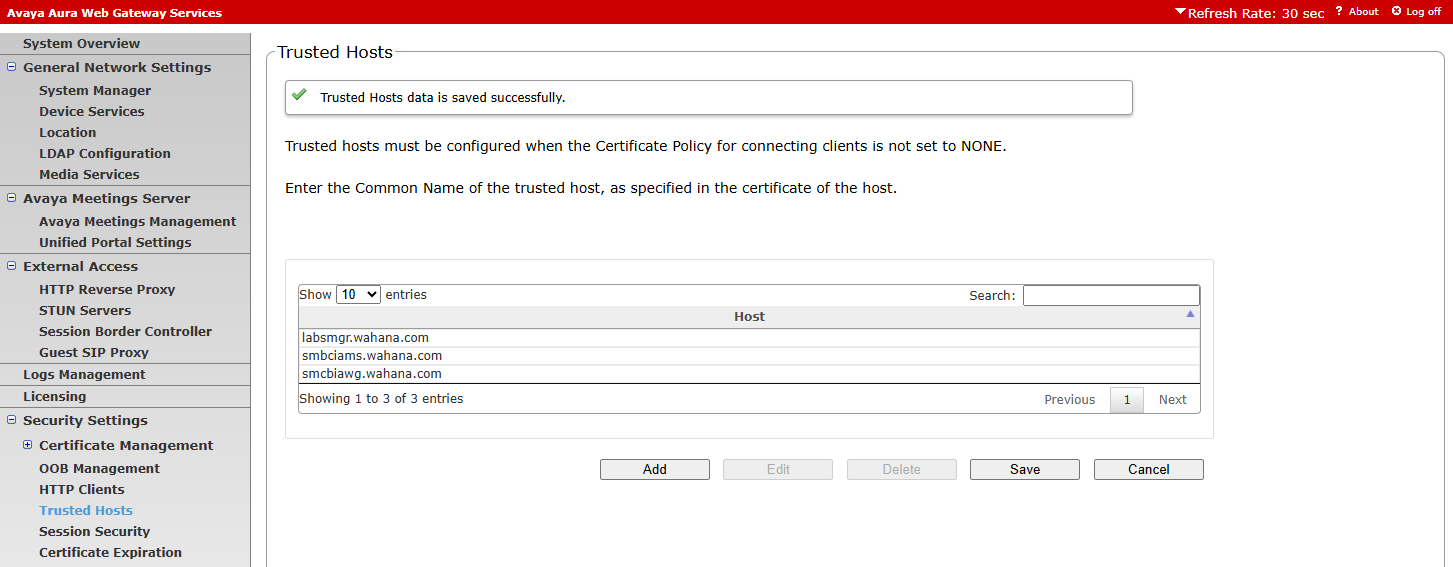
dari menu security settings, Trusted hosts
tambahkan trusted hosts, SMGR, AMS dan AAWG
¶ Verify Media services
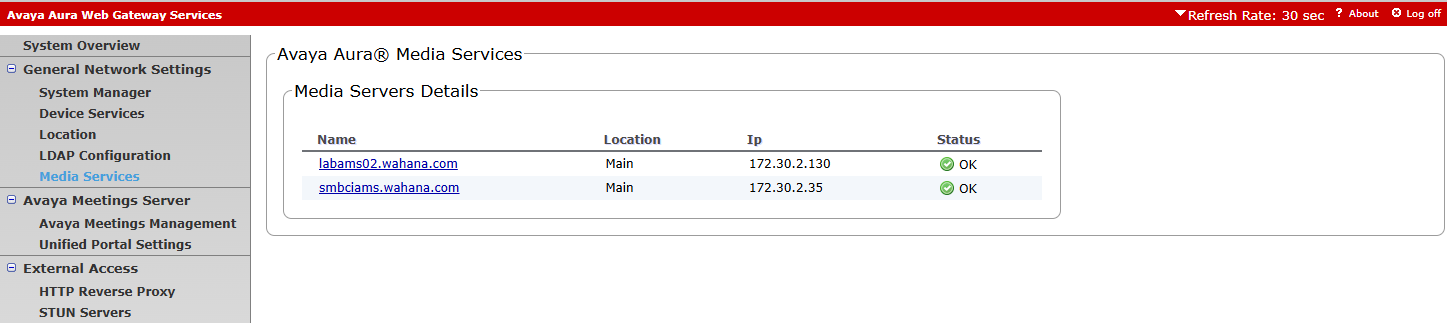
¶ Verify System Overview
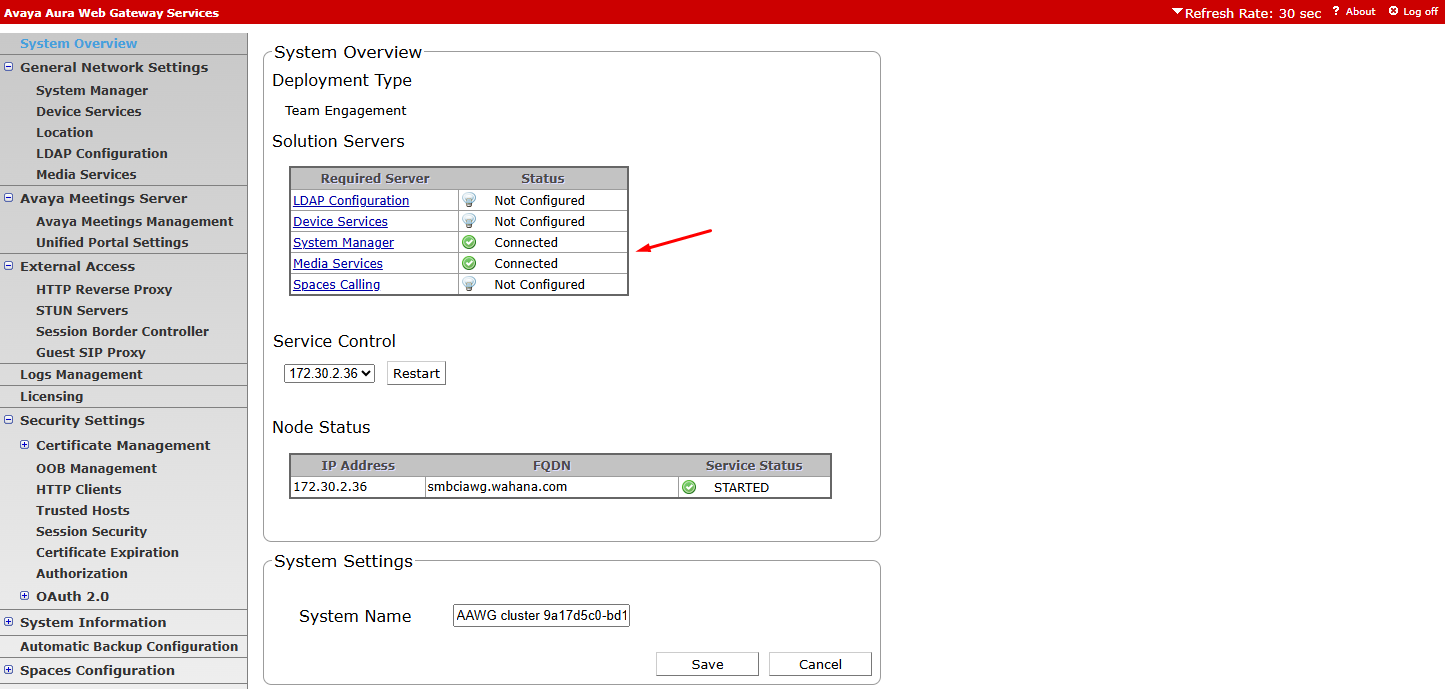
dari menu system overview, verify status System Manager dan Media server = Connected
¶ Verify License
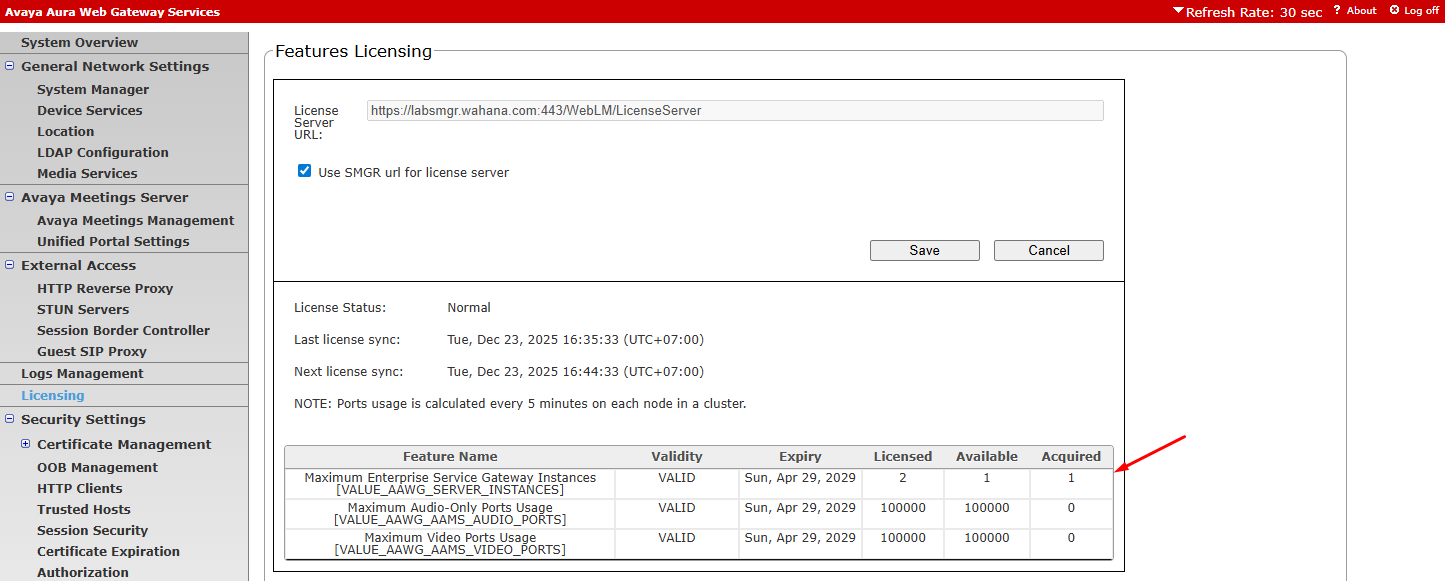
Pada bagian licensing, pastikan server mendapatkan license
Acquired = 1
¶ Assign Location
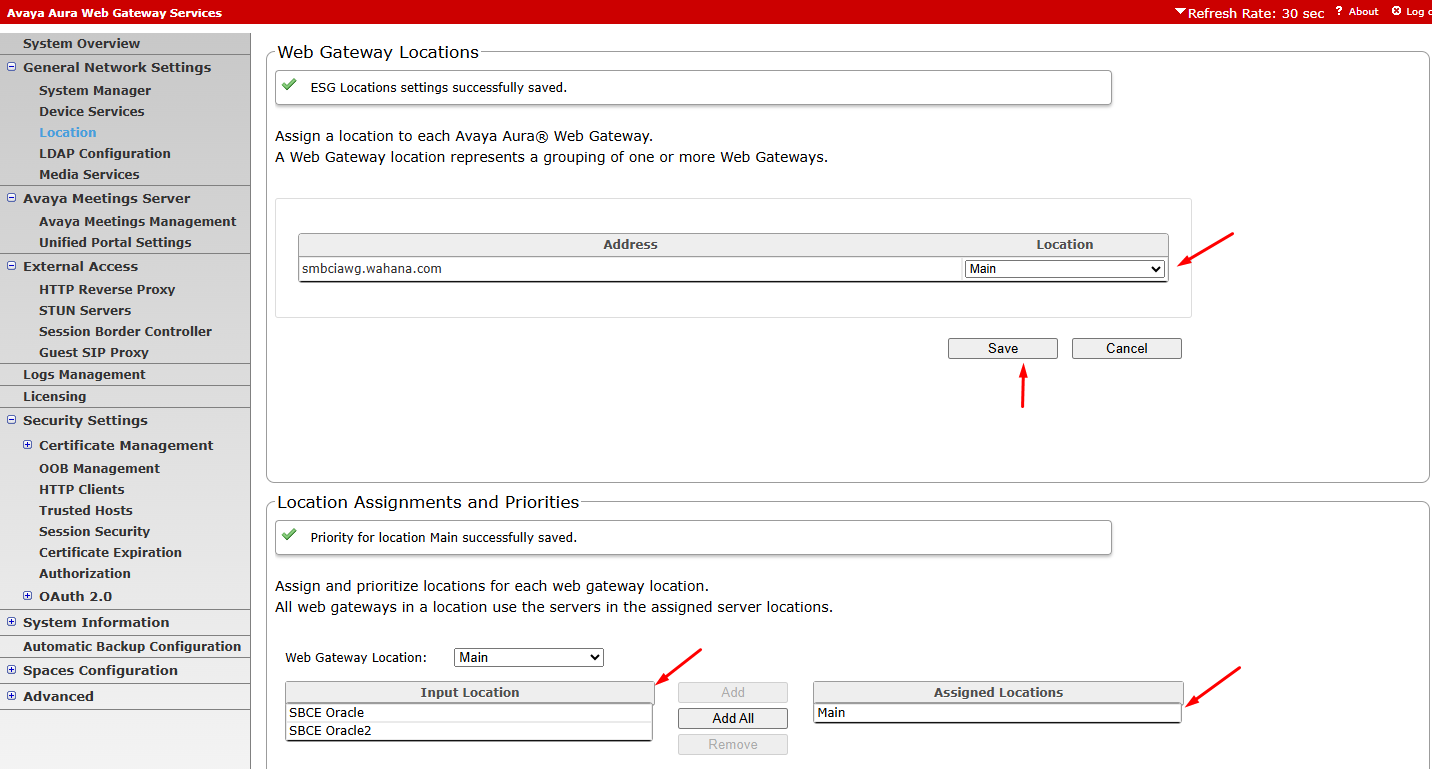
pada menu General network settings, Location
pilih Location untuk AAWG
pada baagian location assignment priorities, set webgateway location on assigned locations
¶ Set Guest SIP Proxy
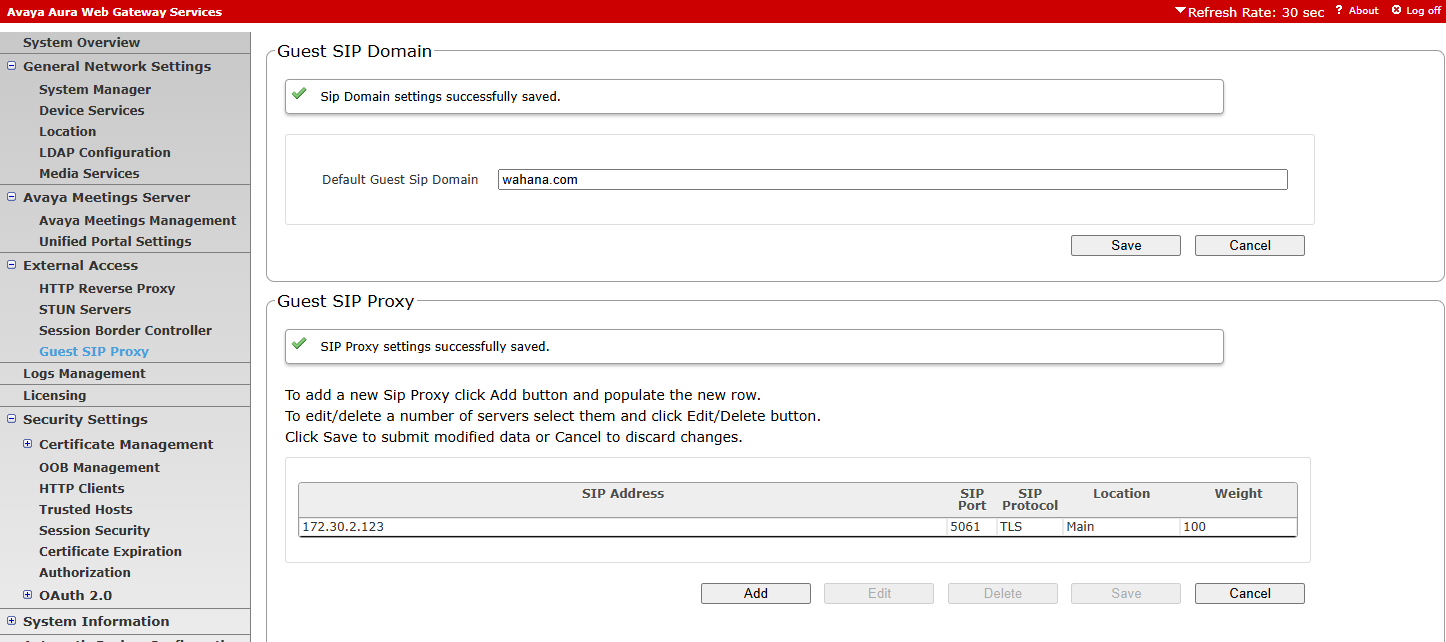
pada menu External access, guest sip proxy, set SIP domain dan SIP proxy (IP address SM100)
¶ Enable CORS
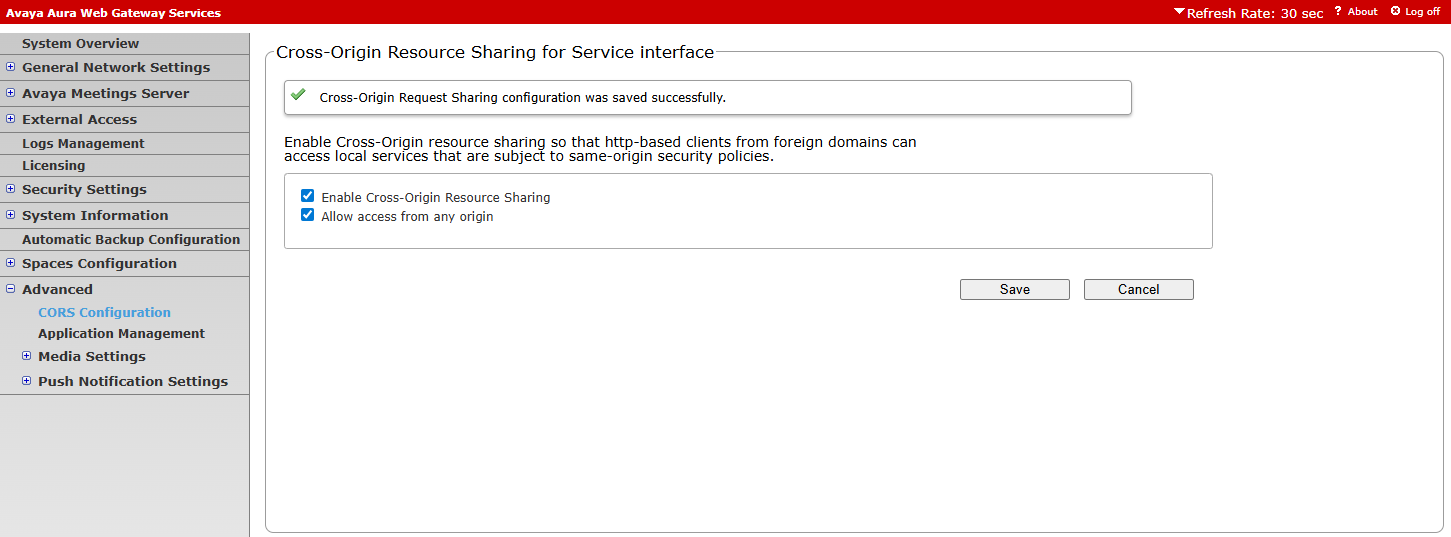
dari menu Advanced, CORS configuration
enable Cross-Origin Resource sharing dan Allow Access from any origin
¶ Enable HTTP Reverse proxy
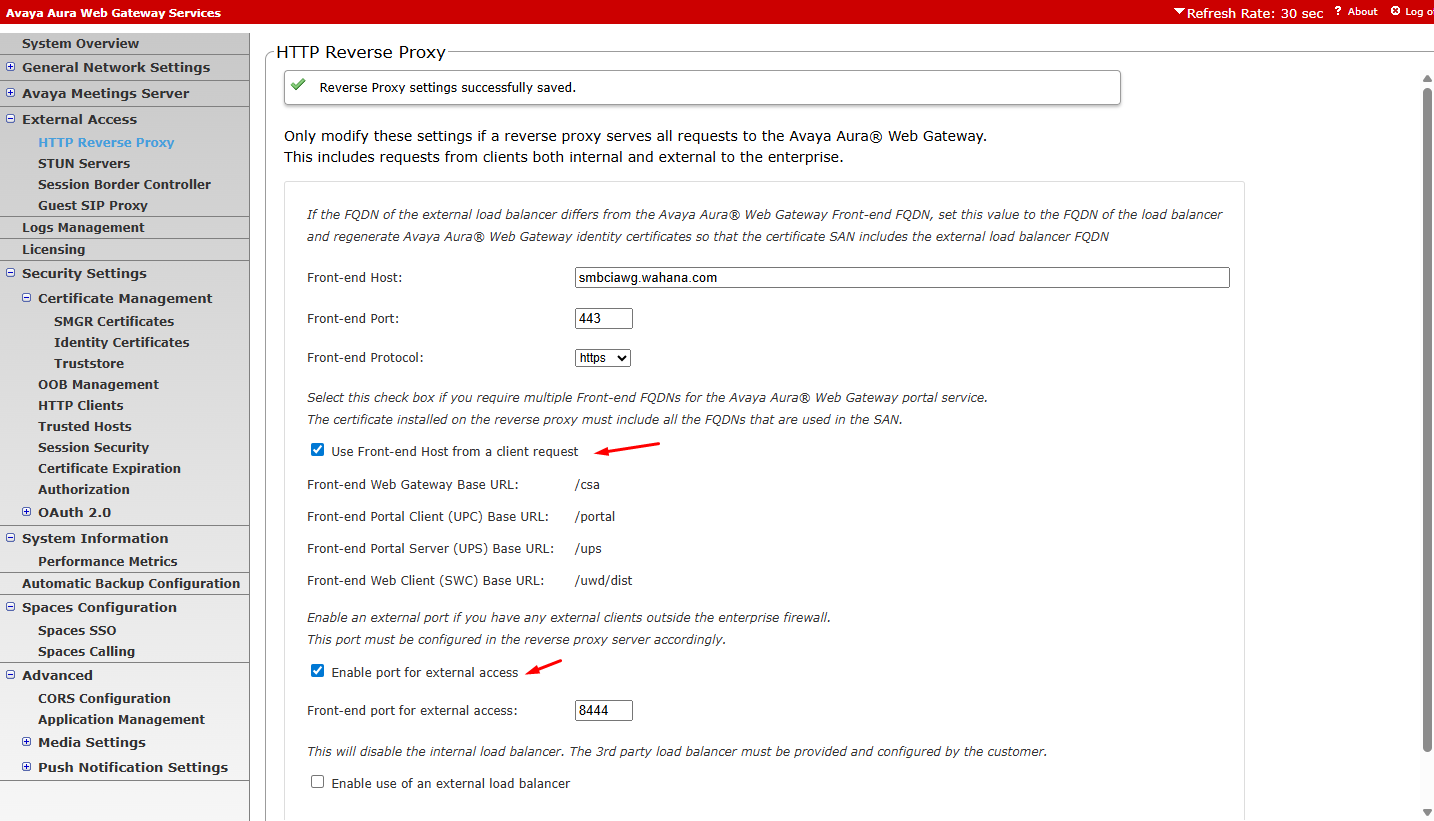
Dari menu external access, enable use front-end Host as client request dan enable port for external access
¶ Enabling default service
Default service awg yaitu:
- devclient
- token-generation-service
login ssh ke server aawg, menggunakan user root navigate ke direktori telportal
Last login: Tue Dec 23 15:04:14 2025 from 172.30.16.27
[admin@smbciawg ~]$ su
Password:
[root@smbciawg admin]# cdto active
[root@smbciawg 10.1.0.0.90]# ls
AADS  CAS  cas-common  cassandra  config  CSA  logs  mss  nginx  SWC  tomcat  UPC  UPS
[root@smbciawg 10.1.0.0.90]# cd mss/8.0.1-4_8.5.57/telportal/webapps/
rename file devclient.undeploy dan token-generation-service.undeploy menjadi devclient.war dan token-generation-service.war
[root@smbciawg webapps]# ls
csa  csa.war  devclient.undeploy  notification  notification.war  token-generation-service.undeploy
[root@smbciawg webapps]# mv devclient.undeploy devclient.war
[root@smbciawg webapps]# mv token-generation-service.undeploy token-generation-service.war
[root@smbciawg webapps]# ls
csa  csa.war  devclient.war  notification  notification.war  token-generation-service.war
[root@smbciawg webapps]#
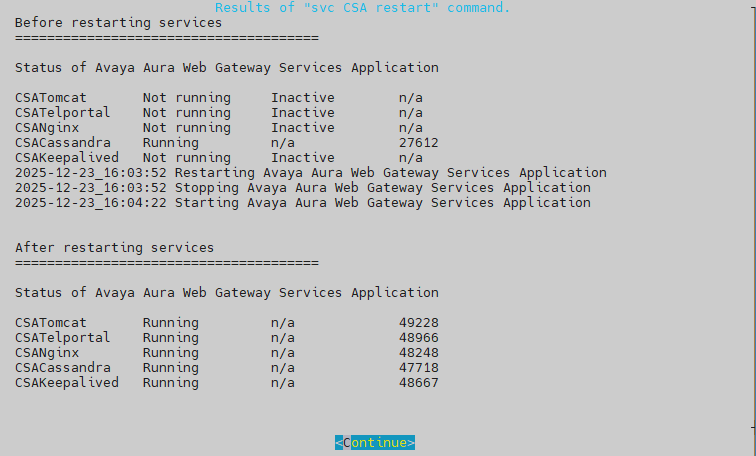
restart service telportal dengan perintah : svc telportal restart
[root@smbciawg webapps]# svc telportal restart
2025-12-23_16:41:15 Restarting Telportal
[root@smbciawg webapps]#
verify file war sudah terdeploy menjadi folder dalam aplikasi:
[root@smbciawg webapps]# ll
total 144648
drwxr-x---. 5 ucapp ucgrp       54 Dec 23 15:50 csa
-rwxr-x---. 1 ucapp ucgrp 69770442 Dec 23 15:43 csa.war
drwxr-x---. 5 ucapp ucgrp       69 Dec 23 16:44 devclient
-rwxr-x---. 1 ucapp ucgrp   146015 Dec 23 15:43 devclient.war
drwxr-x---. 4 ucapp ucgrp       37 Dec 23 15:51 notification
-rwxr-x---. 1 ucapp ucgrp 35132398 Dec 23 15:43 notification.war
drwxr-x---. 4 ucapp ucgrp       54 Dec 23 16:44 token-generation-service
-rwxr-x---. 1 ucapp ucgrp 43063273 Dec 23 15:43 token-generation-service.war
[root@smbciawg webapps]#
perhatikan devclient dan token-generation-service folder
jika sudah terbentuk, itu tandanya aplikasi war sudah di deploy
¶ DevClient TestApp
buka halaman web https://172.30.2.36/devclient/
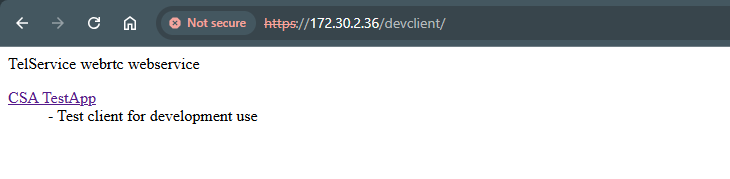
click pada link CSA TestApp
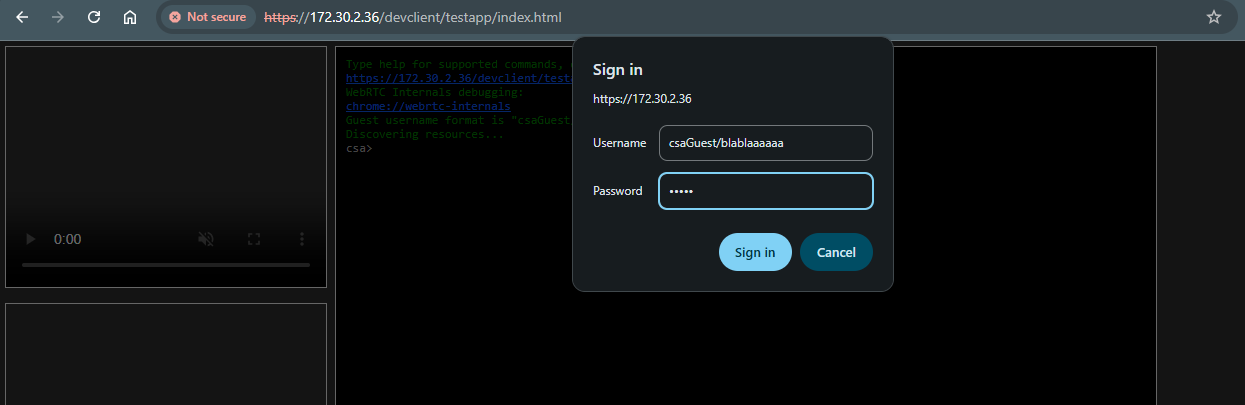
apabila di tannyakan username/password, masukkan csaGuest/xxx
xxx = bebas
password = bebas
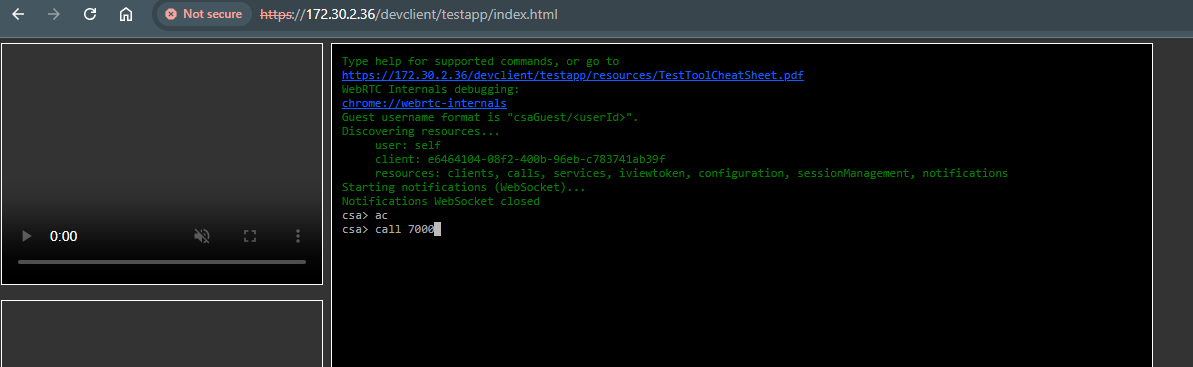
ac = active call
call 7000 = call number 7000
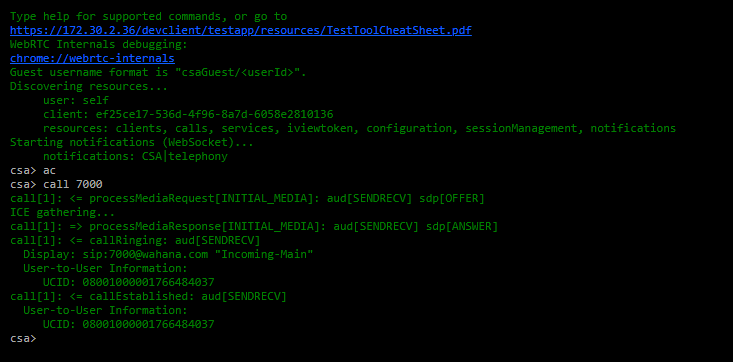
pada posisi ini, seharusnya call sudah tersambung ke nomor 7000 yaitu vdn incoming